Cutting-Edge Technologies in Electronics, Precision Instruments and Optical Techniques

Residual stress measurement becomes much easier than before.

Meeting the needs of the times, our unique technology brings customers easy operation in evaluating Residual Stress and Retained Austenite by the X-ray diffraction technique.

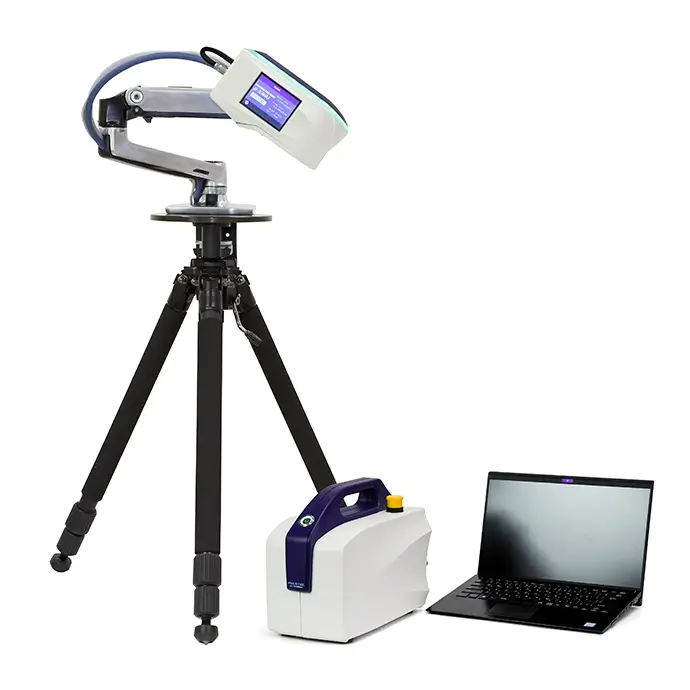
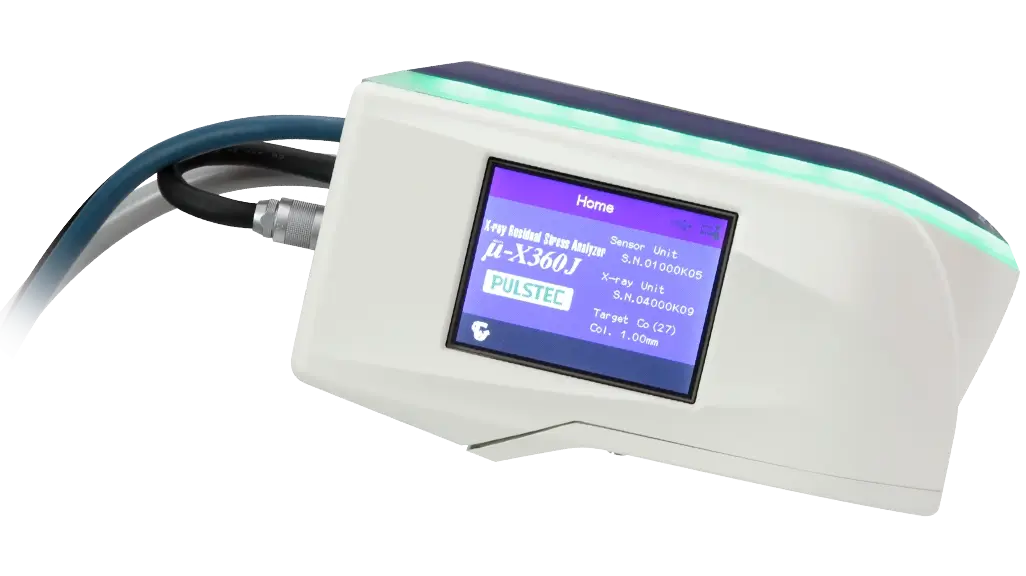
μ-X360J Portable X-ray Residual Stress Analyzer
Portable X-Ray Residual Stress Analyzer

μ-X360J

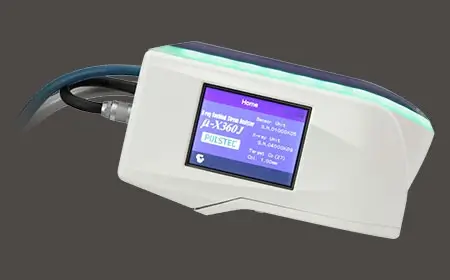
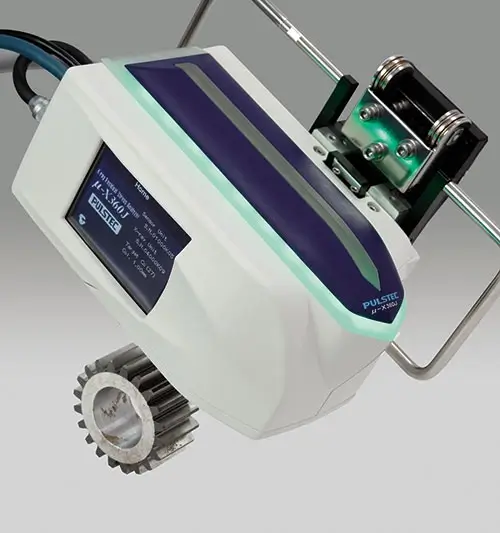
The μ-X360J is the world’s lightest and smallest residual stress analyzer. It’s a non-destructive measurement system for metals to obtain the residual stress, retained austenite and FWHM data based on X-ray diffraction technique.

μ-X360J Portable X-ray Residual Stress Analyzer

How the analyzer works

  1. Place a sample under the sensor unit.
  2. Start measurement wizard.
  3. Adjust incident angle, working distance, and measurement spot.
  4. Close the shielding door and hit the start button.
  5. Result is displayed after 40 seconds.
μ-X360J Portable X-ray Residual Stress Analyzer

Products

A cost-effective, compact and high-precision way to non-destructively determine residual stress in polycrystalline materials.

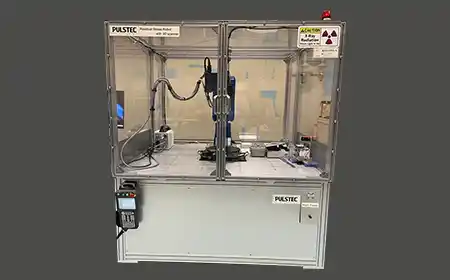
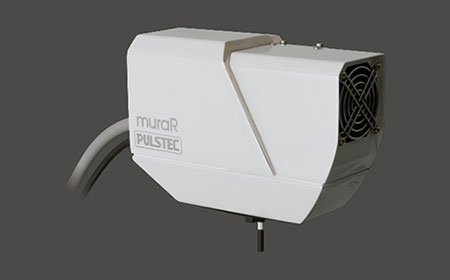
A versatile robotic system designed to accurately map residual stress and FWHM.

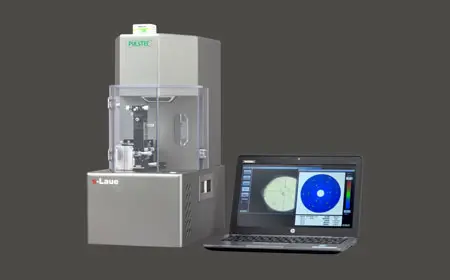
A compact, lightweight system that measures crystallinity, plane orientation, and more.

An inline single crystal orientation system that easily measures large samples.

A fast, non-destructive way to accurately test case depth of carburized hardened steel and induction hardened steel.

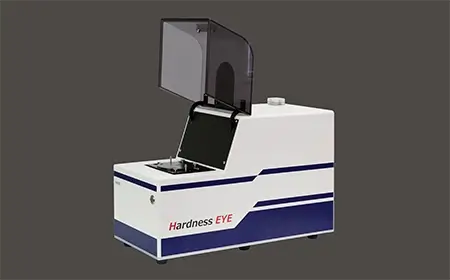
With this in-plane hardness tester, hardness variation can be determined. Applicable to machining burn or grinding burn evaluation.

What’s New

A graph titled 'Reference sample by Yamamoto science tool.' On the left side of the chart are the numbers 0-80, representing a Rockwell Hardness rating. On the bottom of the chart are the numbers 0-12, which reference X-ray FWHM degrees. The chart showcases the correlation between surface hardness and FWHM: As FWHM increases, so does surface hardness.

Measuring Case Depth Hardness

This blog explores traditional and newer methods of measuring case depth hardness, ranging from Brinell and Rockwell to XRD.
Read More
The m-Laue with a slide stage integration

Exploring the m-Laue Single Crystal Orientation System’s Integration Capabilities

Pulstec’s m-Laue crystal orientation system is designed for in-line manufacturing quality control applications. Learn more about its integration capabilities.
Read More
ICSP-15

Exhibit at ICSP-15

Exhibit at ICSP-15 Date: September 22-25 2025 Place: Purdue University, West Lafayette, IN Subjects: 15th International Conference on Shot...
Read More

Speak with an Equipment Testing Expert

We know our technology is leading the industry. Allow us to show you the benefits of working with Pulstec. Contact us today for a free demonstration on-line or at your facility.