Whether you’re assessing the impact of manufacturing processes or verifying product quality, having equipment with in-situ and/or on-site residual stress measurement capabilities is crucial. These capabilities allow you to gather real-time data on the integrity and performance of materials under actual operating conditions and improve the reliability and accuracy of results, leading to safer products or structures.
The challenge is that in-situ and on-site measurements can be difficult to achieve due to limitations in current equipment and environmental conditions. In this blog, we’ll explore some of the current challenges with both in-situ and on-site measurements and Pulstec’s solution for overcoming them.
Table of Contents
In-Situ Measurements

In-situ measurements are essential for evaluating residual stress within materials as they exist in their operational state without removing them from their environment. This capability can be extremely helpful for situations like monitoring pipeline integrity, where real-time stress data can predict failures. However, in-situ measurements aren’t a standard capability most businesses have access to due to some primary setbacks, such as measurement depth and resolution, environmental and operational constraints, and challenges with interpreting data.
Measurement Depth & Resolution Limitations
X-ray diffraction is one of the most effective ways to perform in-situ measurements. Measurement depth isn’t just a challenge specific to in-situ measurements; it’s also a primary setback with X-ray diffraction. In some cases, understanding and assessing stresses deep within materials is critical (such as with shot peening). This is difficult to achieve with X-ray diffraction because penetration depth is limited. If sub-surface stress analysis is needed, surface layers must be removed via electrochemical polishing to ensure accuracy, which can impact the integrity of the sample or structure being measured.
Additionally, higher resolution is needed to detect fine microstructural features that affect material behavior, but achieving this often requires complex and less portable equipment.
Material Property Influence
Variations in material composition, microstructure, and mechanical properties also affect how stress is distributed and how it responds under load, which can influence measurement outcomes. For example, materials with high anisotropy can show different stress responses in different directions, which complicates data interpretation. And, materials with heterogenous properties may require specialized techniques or calibration to ensure accuracy.
Environmental & Operational Constraints
Temperature fluctuations, vibrations, and electromagnetic interference can also impact measurement accuracy because they can alter the precision of the measurement equipment. High temperatures might affect sensor performance or alter material properties, while vibrations could introduce noise that obscures the data.
Data Interpretation & Modeling
Interpreting raw data into meaningful stress profiles is another challenge of in-situ measurements. The accuracy of the results heavily depends on the fidelity of the models used to simulate material behavior under stress, and the variability in operational environments, as mentioned in the previous section, can introduce inconsistencies in the collected data.
On-Site/Field Measurements

Field (on-site) measurements involve assessing stresses directly at the location where the component is installed (or being used). They are especially needed on construction sites for bridge welding, where immediate stress evaluation can help guide structural adjustments and mitigate safety issues, or in shot peening operations, where it’s necessary to understand how stress is distributed. The primary setbacks associated with field measurements are similar to in-situ, including environmental conditions.
Environmental Conditions
Like in-situ measurements, environmental conditions such as temperature fluctuations and vibration/noise can heavily impact field measurements. The primary difference between on-site and in-situ measurements is that on-site measurements can be affected by weather conditions (rain, wind, moisture, dust, extreme temperatures, etc.), which can be unpredictable and hard to manage.
Constrained Spaces
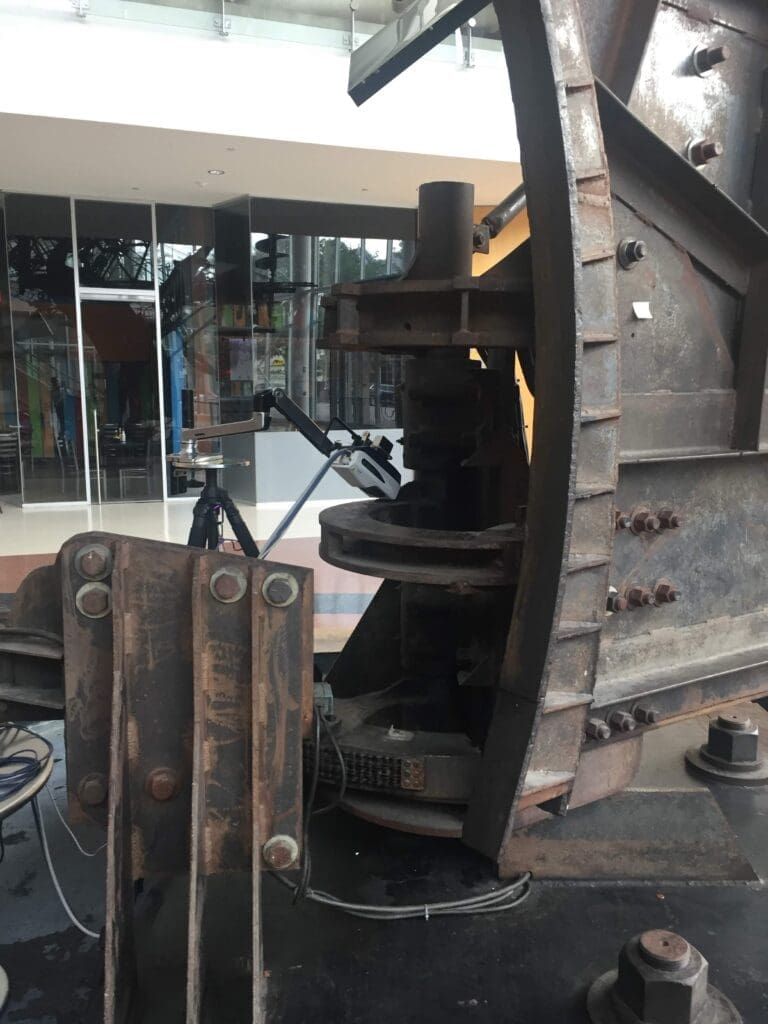
In some situations, specific areas within a structure that need to be analyzed may be hard to access or situated in a constrained space. So, the equipment used for the measurement must be portable and adjustable so that sensors can reach the area that needs to be assessed.
Equipment Portability & Setup Time
When measurements must be done on-site, equipment portability and ease of setup are critical. If equipment is too complex to assemble or set up on time or logistically challenging, especially for remote or difficult-to-access locations, it can compromise the entire operation.
Calibration
All X-ray diffraction equipment should be calibrated before use to ensure accuracy. However, variable environmental conditions can make calibration difficult to perform. Any changes in environmental factors during the course of the operation or shifts in the equipment’s setup can decrease the accuracy of the measurement process, requiring more calibrations.
Power
When working in the field, there likely will be no power sources. This means operators must use portable batteries, generators or long cables, both of which are logistical challenges. And, if there are any fluctuations in power supply, it can impact measurement accuracy.
Radiation Risks
There is a small risk of radiation exposure when measuring residual stress via XRD. These risks are easier to manage in a laboratory or off-site setting but can be difficult to implement in the field because it’s an uncontrolled environment.
Introducing the μ-X360J

Since Pulstec’s founding over 50 years ago, we’ve been committed to developing innovative products, including our μ-X360J analyzer, that help resolve common materials research challenges.
Our equipment can measure both residual stress and retained austenite, is currently being evaluated and considered as a viable option for in-situ measurements, and is already being utilized for on-site measurements.
Some of its features and benefits include:
- Portability: The μ-X360J has a lightweight design that doesn’t compromise accuracy, and we offer an optional watertight, crush-proof hand-carry case that can comfortably hold the main unit, its flexible arm, a shielding board, and an angle gauge.
- Flexibility: Our analyzer has a flexible arm that can be adjusted based on the sample being evaluated, along with an optional angle gauge that allows you to easily adjust the sensor/X-ray incident angle. This flexibility makes it easier to measure structures and samples in hard-to-reach locations.
- Safety: The μ-X360J features low-power X-ray tubes that can be exchanged based on the sample’s composition. We also provide an optional safety cabinet for in-lab measurements and a portable PVC shielding board for field measurements. We can also offer recommendations for survey meters to identify radiation levels.
- Reliability: Our analyzer has an optional battery that will power the main unit without electricity for up to six hours.
- Stress Mapping Function: The μ-X360J software features an intuitive color mapping function that allows you to display XRD results (obtained using the motorized XY stage) in a color map to identify high- and low-stress areas.
- Optional Oscillation Capability: Our unit has an optional unit that oscillates the angle of the X-ray during measurement, allowing you to see diffraction patterns from more crystal planes and minimize any potential errors caused by textural variations or grain orientation.
- Speed: The μ-X360J can display results within 40 seconds.
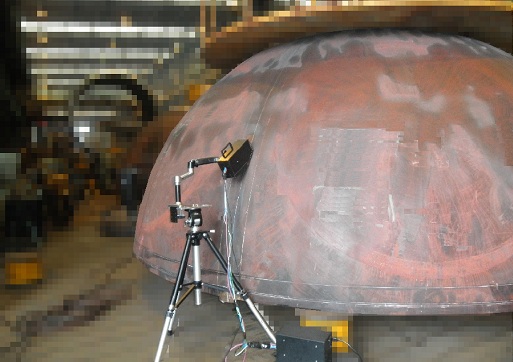
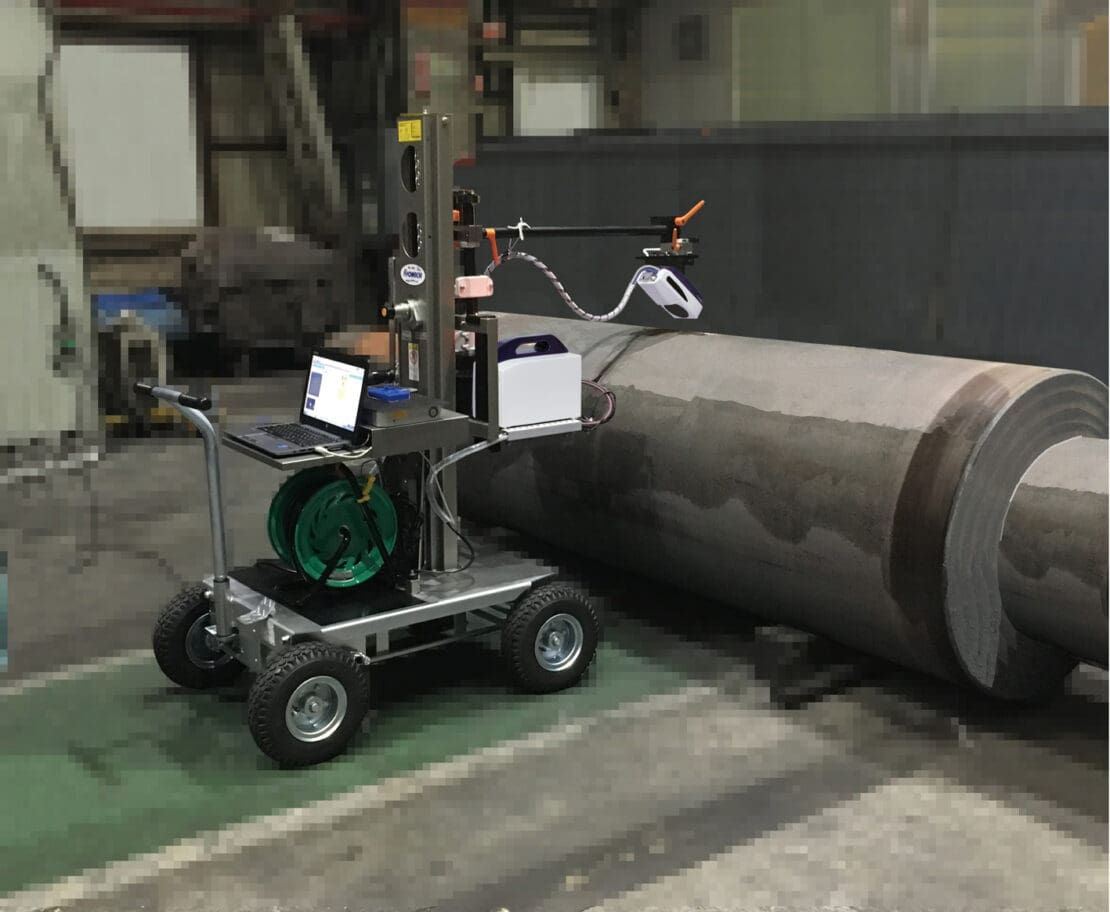
- Easy Setup: Our unit is easy to assemble and disassemble in the field—all it takes is a few minutes. Field setup includes mounting the main unit on the tripod, mounting the sensor unit on the flexible arm, and attaching the arm to the tripod. We can also provide a cart to support the analyzer if larger components need to be tested.
- Direct Measurements: Our unit can take direct measurements of larger samples without extraction or cutting.
- Accuracy: The μ-X360J can measure multiple points on a surface or component to easier visualize stress variation across different locations on a surface. Our software also features a reanalysis function that allows you to easily repeat measurements on different areas of a target and track multiple data points.
- Depth Profile Capability: Sub-surface analysis is possible with our optional electrochemical polisher. When used properly, our polisher can remove surface layers without adding additional stress. Our polisher has been used extensively in research to study the evolution of a sample’s stress state from compressive to tensile in shot peening. You can visit this article for more insight.
Request a Free Demo Today
If you need to perform on-site or in-situ residual stress measurements, please contact us today to request more information about the μ-X360J or to schedule a free demo.

