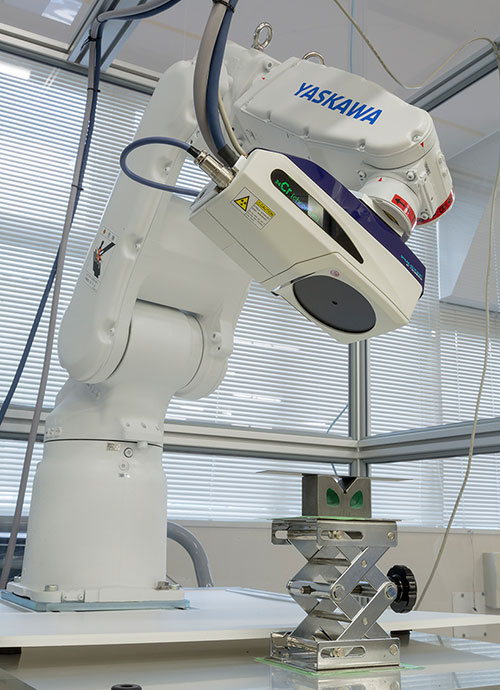
Strain gauges and X-ray Diffraction (XRD) analyzers are two unique methodologies that, while different, are used to measure residual stress in materials. The choice between one technique over the other can often be a critical decision in the field of mechanical engineering, manufacturing, and quality control.
In this article, we’ll examine these techniques, their working principles, and their advantages and disadvantages.
Strain Gauges
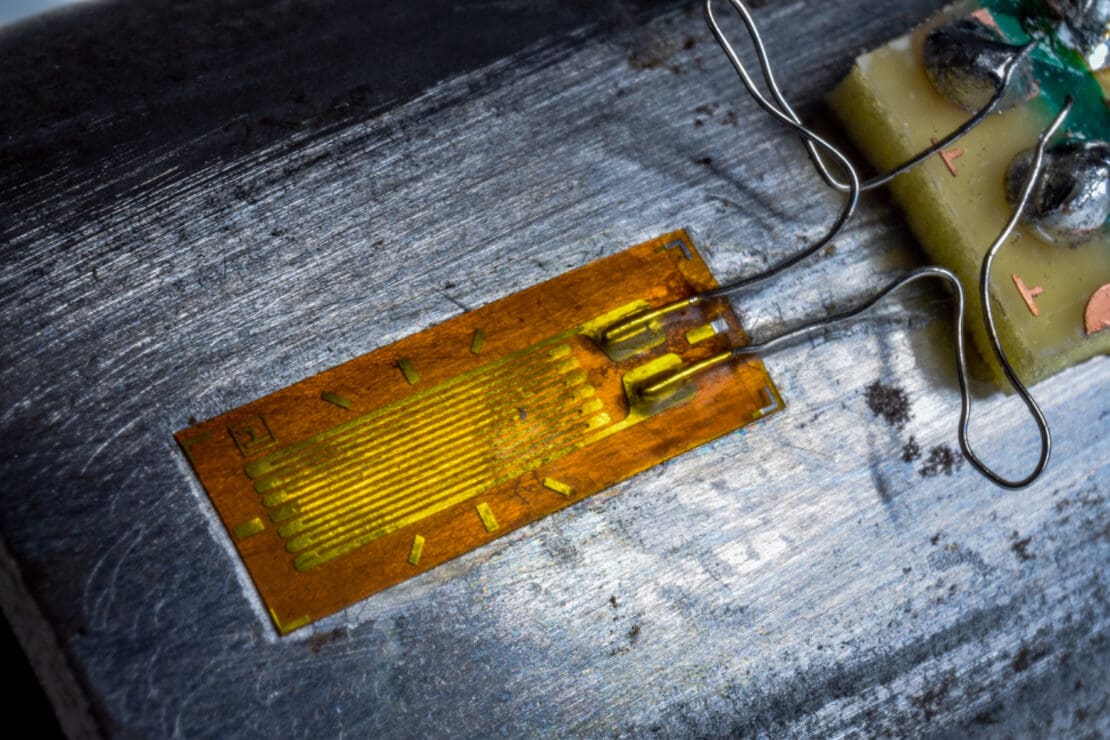
Strain gauges are reliable devices used predominantly in engineering to measure the deformation or strain of materials undergoing stress. They work based on the principle that the electrical resistance of a wire is directly proportional to its length and inversely proportional to its cross-sectional area.
When a material is stressed, it deforms, causing a strain that alters the dimensions in the strain gauge’s wire, subsequently modifying its electrical resistance.
Advantages
- Direct Measurement: Strain gauges directly measure strain, which can then be connected to stress through material properties, making them incredibly valuable for high-precision stress analysis
- Small Deformations: They can measure tiny deformations, which enhances their usefulness in precise stress analysis.
- Versatility: There are different types of strain gauges that can measure various forms of strain, including tension, compression, torsion, and bending. This variety makes them adaptable to many different scenarios.
- Compact & Rugged: Strain gauges are compact and robust and can be easily fixed to test structures. Their durability and ease of attachment mean they can withstand many testing environments.
Disadvantages
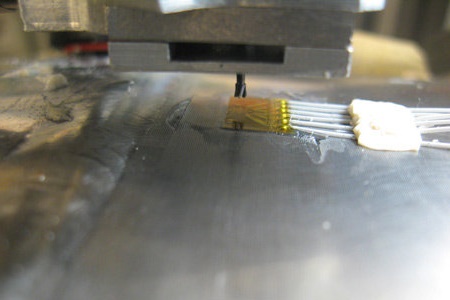
- Limited Measurement Area: Strain gauges only measure stress at the exact attachment point. This limitation makes it challenging to get a comprehensive understanding of stress distribution over a larger area without using multiple devices.
- Dependence on Additional Equipment: Strain gauges require additional equipment to translate the change in gauge resistance into an actionable reading. This need for supplementary systems, like a strain indicator or data acquisition system, can complicate the process and increase cost.
- Sensitivity to Environmental Factors: Changes in the surrounding environment, like temperature shifts, can directly impact measurements taken by a strain gauge. So, this method requires careful compensation of readings to ensure accuracy.
- Installation Challenges: Installing strain gauges is a meticulous process. Any minor errors, such as the presence of air bubbles or looseness between the gauge and surface, can potentially compromise readings.
- Involved in Destructive Methods: Strain gauges are often used in conjunction with the hole drilling method for measuring residual stress, which is inherently destructive. This approach involves drilling into a material and analyzing the resulting relief of stress—a process that permanently alters or damages the sample being measured. As a result, this method is not suitable for instances when preserving the physical integrity of material is needed.
XRD Analyzers
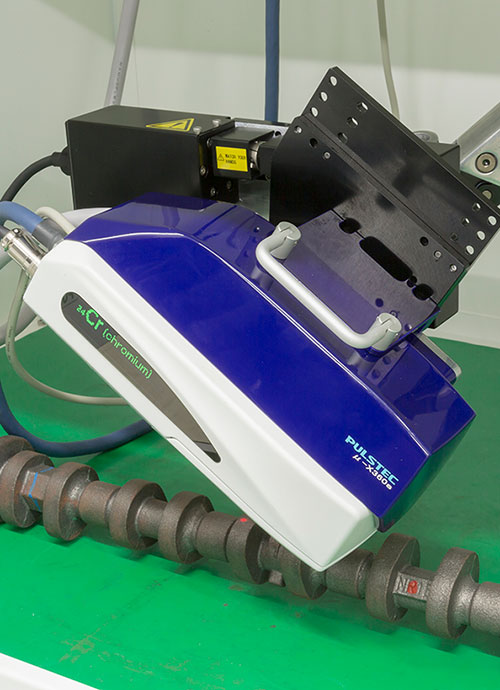
XRD analyzers are advanced tools that use X-ray diffraction to investigate the residual stresses present in materials. Residual stresses or internal tensions left over from manufacturing processes, such as casting, welding, and machining, can ultimately affect a component’s strength and durability. Accurately measuring these stresses is important for ensuring quality and reliability.
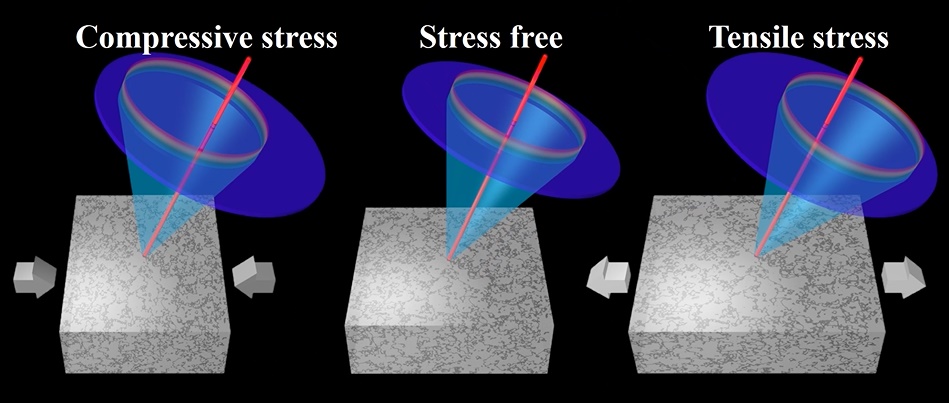
At the heart of XRD analysis, an X-ray beam probes the interplanar distances in a crystalline structure. When X-rays hit these structures, they diffract in different directions and at varying angles. These angles are then measured and used to calculate the spacing via Bragg’s law—a key formula in crystallography. Any discrepancy from regular unstressed spacings indicates the presence of residual stress levels.
Advantages
- Non-Destructive: XRD analyzers, like Pulstec’s µ-X360s, offer non-destructive measurement of large samples in as little as 60 seconds.
- Convenient & Portable: These devices allow easy setup, making them especially suitable for on-site/in-field use.
- Flexible & Adaptive: Certain models, like the μ-X360s, have an adjustable arm and magnetic stand for precision sample positioning. Optional accessories can be used for stress mapping, large grain sampling, and electrochemical surface removal without causing new stress.
- Highly Accurate Measurements: As mentioned, Bragg’s law relates diffraction angles to crystal lattice spacing for structural analysis. These devices can display and analyze the full diffraction ring to accurately determine residual stress amounts.
- Depth of Analysis: XRD can measure bi-axial residual stresses in steel to an accuracy of around ±20 MPa. While it’s primarily a surface technique, measurements can reach depths of up to 1 mm via layer removal techniques, offering a more thorough analysis.
- Versatility in Applications: XRD is particularly useful for analyzing the residual stress depth profile on shot-peened materials, making it an excellent choice for various manufacturing and industrial applications.
Disadvantages
- Limited Penetration Depth: The XRD technique is mainly a surface technique due to the low penetration depth of laboratory X-rays, which restricts measurements to the surface of materials. While measurements can reach depths of 1 mm via layer removal, it generally limits the extent to which internal material stresses can be studied.
- Dependent on Surface Preparation & Factors: The accuracy of XRD testing heavily relies on the quality of surface preparation and considerations like grain size and texture. Any oversight or error in these aspects can significantly affect the accuracy of measurements.
Learn More About Residual Stress Measurement
Founded in 1969, Pulstec is a specialized electronics equipment manufacturer serving customers worldwide. We were the first company to successfully commercialize a cosα XRD analyzer with a single-incident X-ray angle and high-sensitivity 2D sensor to capture the entire Debye-Scherrer ring.
Our XRD analyzer, the μ-X360s, is lightweight, portable, easy to use, and exceptional for measuring residual stress in large samples without cutting or damaging them.
Please visit our website for more residual stress or X-ray diffraction resources, or contact us today to learn more about the μ-X360s.

